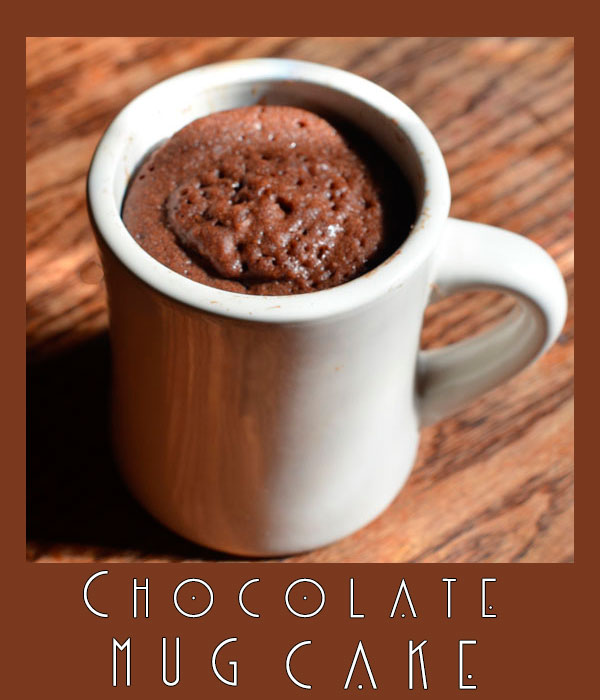
There are times when I want to satisfy my sweet tooth with chocolate cake but I don’t want to take the time to bake a whole cake. Or better yet there are days when I would rather not use the oven because it tends to heat up the house. Lucky with just some items from my kitchen, I can make my own personal chocolate mug cake in just a few minutes in my microwave.
Lean Beef – It’s What’s For Dinner – Tips To Grilling + Dry BBQ Rub Recipe
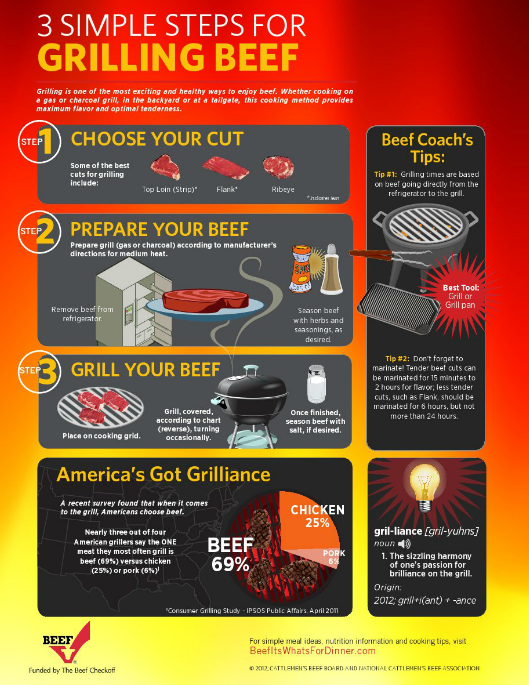
When it comes to meals that we prepare at my house, we eat beef almost as often as we eat chicken. When it comes to the way we cook our beef, my FAVORITE would be some lean beef burgers on the grill. Off course with with a slice of cheddar cheese because I love cheeseburgers.
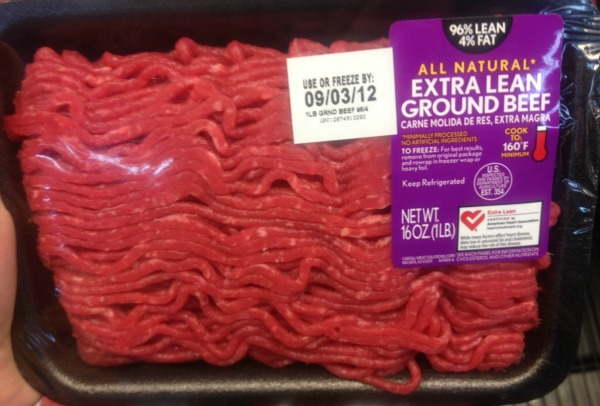
When I first started cooking and for many years, I bought the cheapest beef that I could buy. I have always been one to try to save money, be frugal and I love to use coupons so going with the best deal on meat was something I would always do. I have learned over the years that not only is lean beef a more healthy option, when you cook it, you get more in the end. I usually by lean beef, but if you want it really lean, look for the Extra Lean Labels.
I recently been experimenting using dry rubs. I have always been one to use marinades, but lately dry rubs are just as appealing but they both work in a different way to give your meat flavor. With a dry rub, you massage a mixture of spices and seasonings into your meat before you cook it. When you apply the rub to the meat’s surface, you are packing it full of flavor in the form of a savory crust on your meat. The flavor of your meat will depend on how long you apply the rub before you cook it.
What is neat about some rubs that I really like is when your rub has a good amount of salt in it, the salt will help to melt the fat on both the surface and inside of the meat while it is cooking. Just knowing that little fact has me wanting to use dry rubs even more.
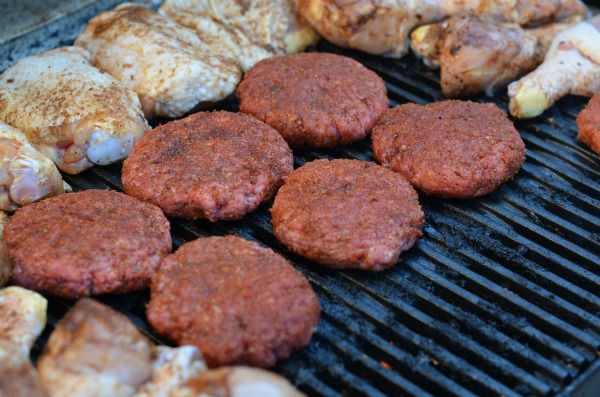
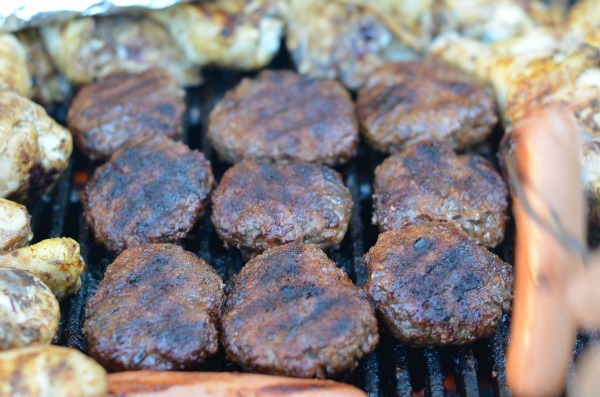
This past weekend I had a BBQ with some friends where I my husband grilled up some lean beef burgers I made in which I used a homemade dry rub. We also had chicken and turkey dogs, but my cheeseburgers came out delicious. If you want to try a dry rub, I made one with ingredients that you probably already have in your kitchen.
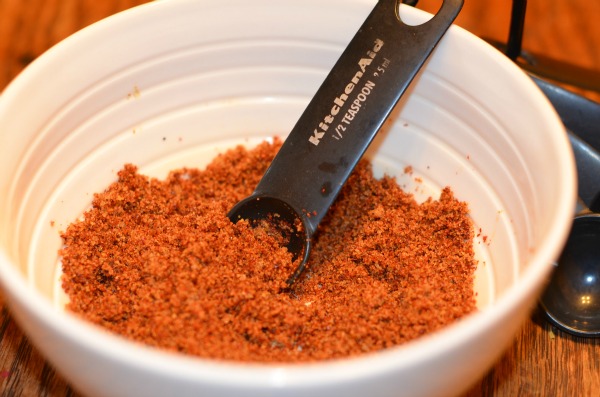
Below is my Dry BBQ Rub Recipe that you might want to try.
| Dry BBQ Rub Recipe |
- 2 TBS Chili Powder
- 2 TBS Brown Sugar (packed)
- 2 TSP Cumin
- 1 TSP Garlic Powder
- 1/2 TSP Cider Vinegar
- 1/2 TSP Onion Powder
- Combine all ingredients in a small bowl until well mixed.
- Apply to meat prior to cooking.
- Enjoy!
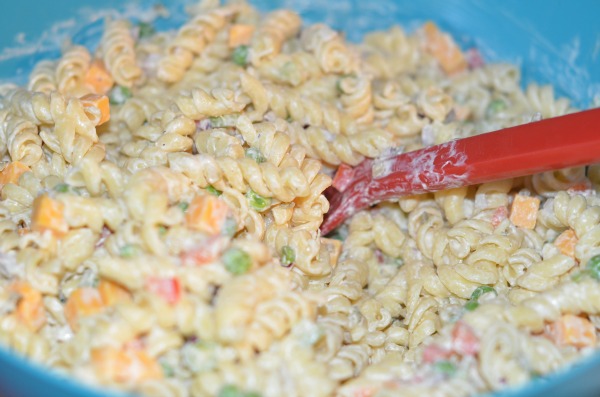
In addition to the delicious cheeseburgers we had, no BBQ at my house is complete without some YUMMY pasta salad. My friend Jen makes a great pasta salad that she came over and made at my house for the BBQ. This pasta salad includes rotini noodles, mayo, sour cream, bell pepper, onion, and cubed cheese.
In addition to using rubs to help reduce the fat in your beef, here are some other tips that you might want to do to reduce the fat in your ground beef.
- When cooking ground beef crumbles, drain the drippings that accumulate as you cook your meat.
- Rinse your ground beef after it has been cooked to remove even more fat (not recommended for 90& and higher lean beef).
- Place cooked burgers on several layers of papers towels to help absorb excess fat before serving.
Be sure to check out these….
To find out more about cooking with beef and to find some yummy recipes, visit: www.beefitswhatsfordinner.com.
“I wrote this review while participating in a In Home Party campaign by Mom Central Consulting on behalf of The National Cattlemen’s Beef Association and received product samples to facilitate my party and review, and a promotional item to thank me for participating.”
Pizza Waffle Pockets Recipe
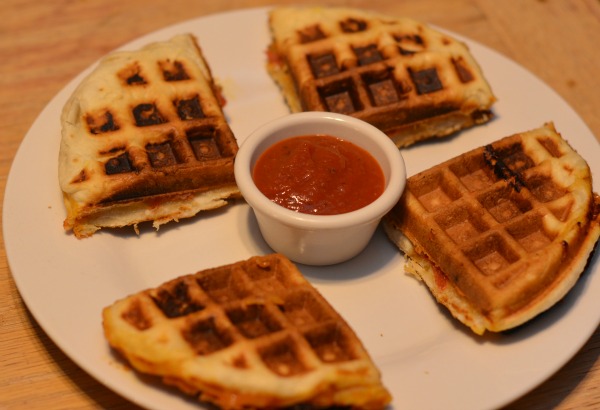 When it comes to making meals for my family, I sometimes like to get a little creative to get their attention. My little guy LOVES pepperoni so I thought I would make some homemade pizza pockets.
Since it was a hot day and I didn’t want to use my oven, I grabbed my waffle maker and made the family some homemade Pizza Waffle Pockets last night. My youngest kids LOVED them and thought I was the coolest mom ever.
| Pizza Waffle Pockets Recipe |
- 2 cans of refrigerated biscuits (8 pack)
- 1 cup pizza sauce
- 1 – 2 cups shredded Mozzarella cheese
- 20 Slices of Pepperoni
- Take two biscuits and form a small pizza crust
- Spread sauce evenly over dough. Add cheese and pepperoni
- Take another two biscuits to create another pizza crust and place on top. Seal edges.
- Place in waffle maker and cook for about 3 to 4 minutes.
- Remove, cut and serve!
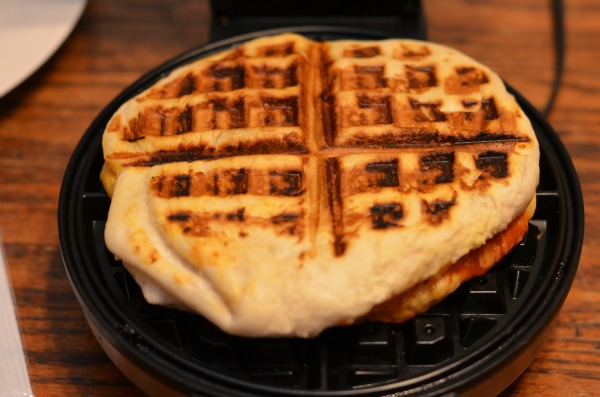
This recipe makes 4 waffles that will turn into 16 Pizza Waffle pockets. I used pepperoni, but you can add ham, sausage or whatever you like on your pizza!
Mom’s Homemade Lasagna Recipe
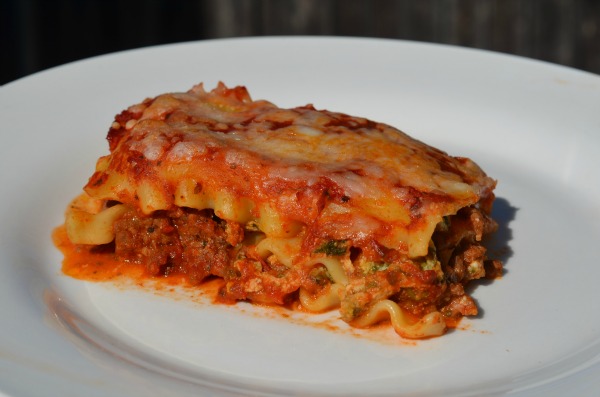
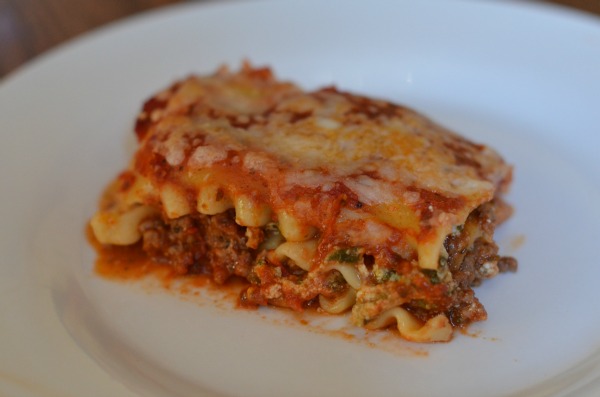
For years I bought the big family sized frozen lasagna to bake at home when the family requested lasagna. Before I learned to make my own, I thought that homemade lasagna was something complicated and probably had to many instructions to even bother trying. Once I made homemade lasagna for the first time, I have been hooked on making it myself and probably won’t ever buy it frozen again.
Tonight I made homemade lasagna featuring a couple products from one of my favorite stores, Smart & Final. This is one of those stores that you can buy things in bulk or large sizes that I enjoy shopping at since I have a family of six. I have always made my lasagna with ground beef and of course pasta sauce and decided to use a couple of the First Street products in my lasagna recipe you will find below.
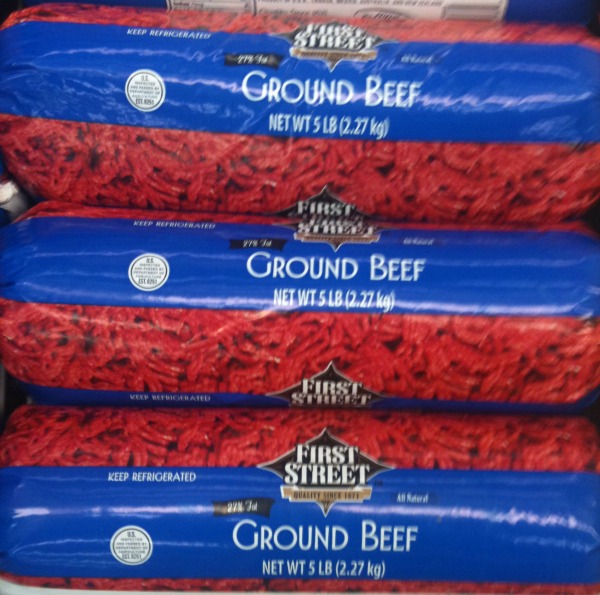
Smart & Final carries the First Street Ground Beef which happens to be on sale next week starting July 18th for only $1.99 per lb and sold in a 5 lb. chub for $9.95. Since I use quite a bit of sauce when I make my lasagna, the 2lb jar of First Street Traditional Pasta Sauce was perfect for my recipe with a little to spare.
Want to make your own homemade lasagna instead of buying frozen too? Check out my Homemade Lasagna below:
Homemade Lasagna Recipe
Ingredients:
- 1 pound First Street Ground Beef
- 3 1/2 cups First Street Traditional Pasta Sauce
- 2 cups Ricotta Cheese
- 9-12 lasagna noodles
- 1/4 cup spinach – drained
- 2 cups shredded cheese mix (Mozzarella, Parmesan, Romano)
- 1 tsp garlic pepper
- 1 tsp onion powder
- 1 egg
Directions:
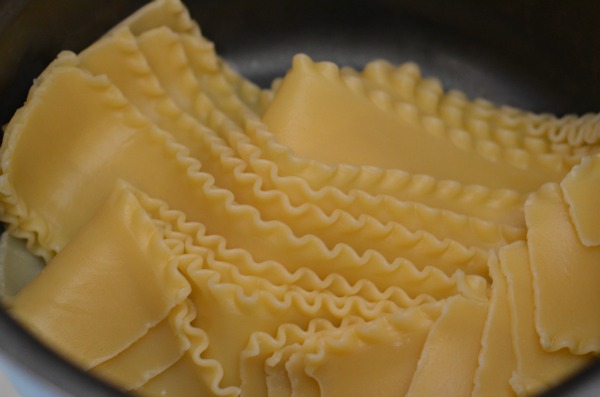
Step One: Cook lasagna noodles according to package. Once done, drain with cold water and set aside.
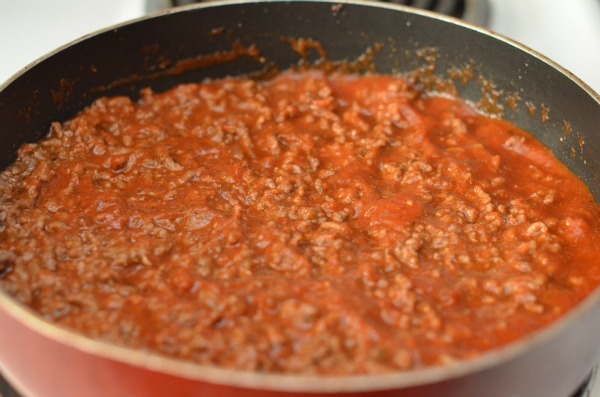
Step Two: While the noodles are cooking, use a skillet and add ground beef, garlic powder and onion powder. Mix meat and seasonings and cook until meat is done and no longer pink and drain excess fat.
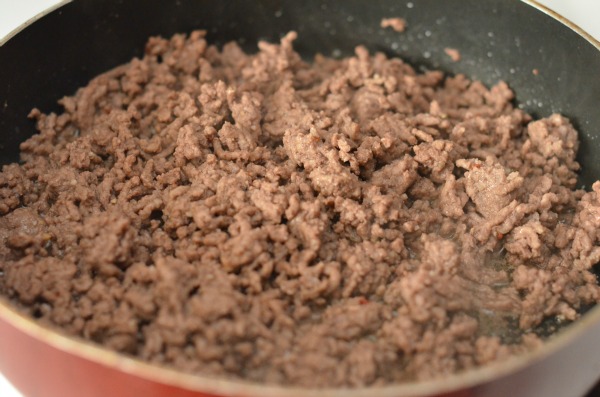 Step Three: Add 2 cups of the First Street Traditional Pasta Sauce in skillet and stir until blended.
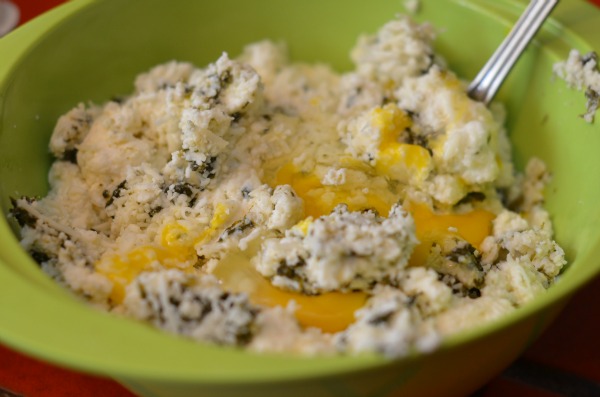
Step Four: Next make cheese mixture by combining spinach, Ricotta cheese, 1 cup of shredded cheese and egg in a bowl. Stir to blend well.
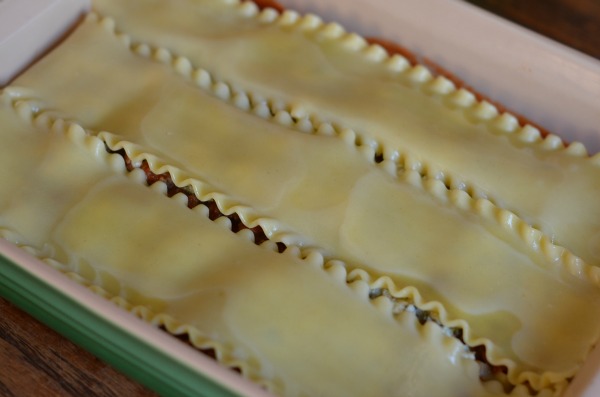
Step Five: In a 11×7 or 13×9 baking dish, add 1/2 cup of the First Street Traditional Pasta Sauce to bottom of dish and spread to cover bottom of dish with sauce. Then add 3 Lasagna noodles side by side. Add layer of beef mixture. Then add layer of cheese mixture.
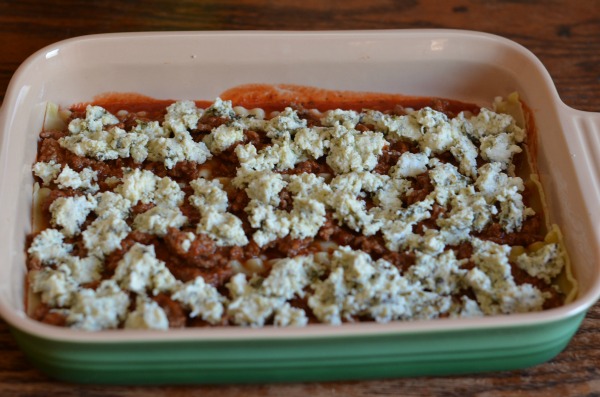 Step Six: Repeat process above adding another layer of noodles, remaining meat mixture and then cheese mixture.
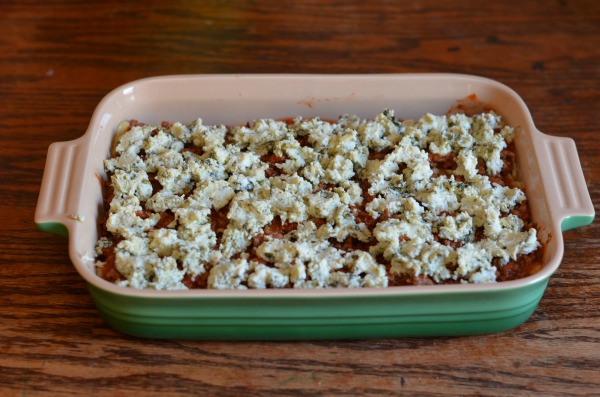 Step Seven: Add one more layer of noodles and top with 1 cup of the pasta sauce. Use spatula and spread sauce evenly over top layer.
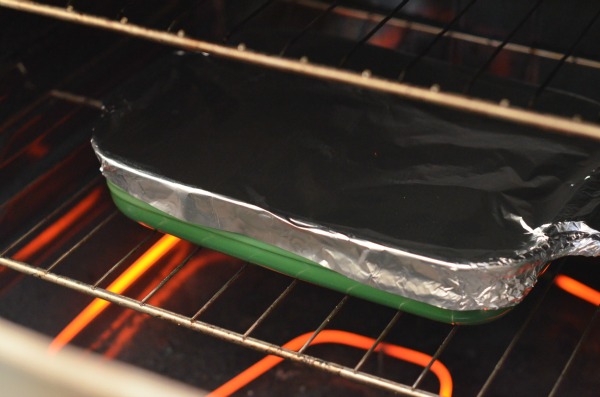
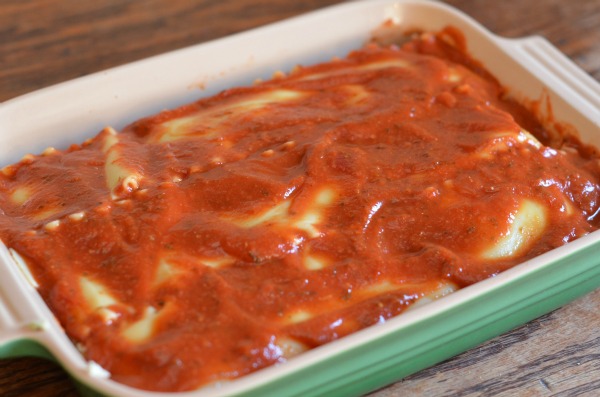 Step Eight: Cover dish with foil and bake at 350 degrees for 30 minutes.
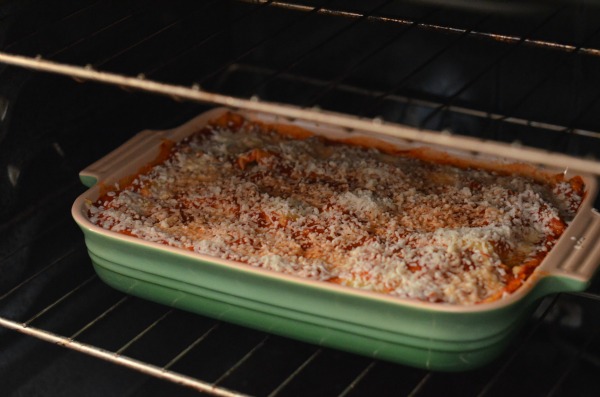
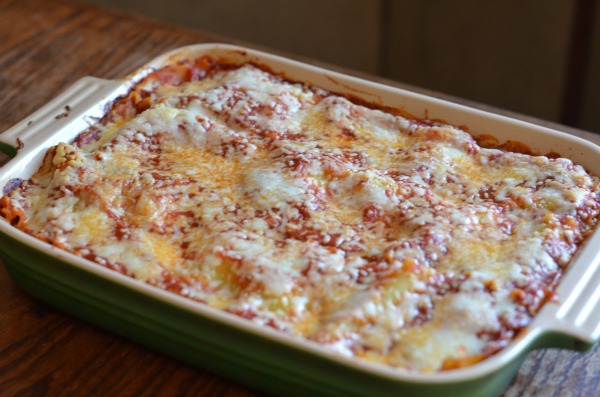
Step Nine: Remove lasagna from oven and top with remaining 1 cup of shredded cheese. Place dish back in oven uncovered and bake an additional 15-20 minutes until cheese is melted.
Step Ten: Remove from oven and let lasagna cool for at least 10 minutes.
Step Eleven: Slice, serve and enjoy!
Not only is this lasagna delicious, it is a great way to get your family to eat their spinach!
If you have a Smart & Final near, be sure to advantage of their weekly sales. Next week starting on July 18th through the 25th, you will find Knudsen Sour Cream on sale along with Kraft American Singles, Yuban Coffee, Ritz Crackers, Chips Ahoy, Kraft Mac & Cheese, the First Street Ground beef like I mentioned previously and more!

Disclosure – I am a member of the Collective Bias™ Social Fabric® Community. This content has been compensated as part of a social shopper insights study for Collective Bias™ and Smart and Final #SFSmarties #CBias #SocialFabric.
Homemade Bread Recipe + Photos
One kitchen appliance I don’t have is a breadmaker. While my family goes through at least one or two loaves of bread a week, I still have yet to splurge for a machine to make it for me. Last month I decided I was going to try to make my own basic bread. I didn’t realize just how easy it is.
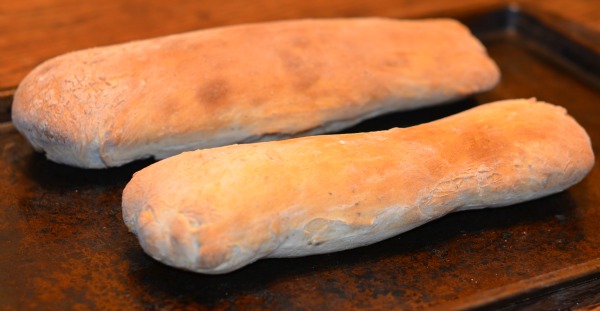
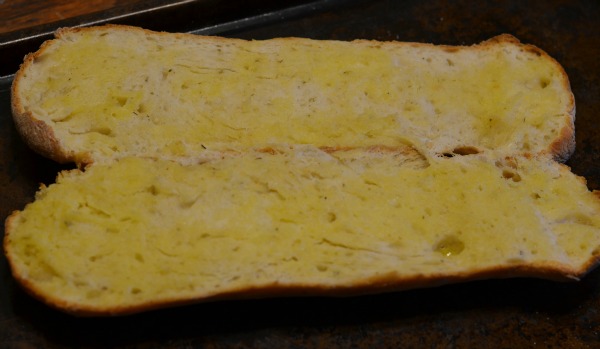
In my first attempt, I made to long loaves that I made into garlic bread after they were done.
Slice each loaf in half and add some butter and garlic salt and pop it back in the oven…
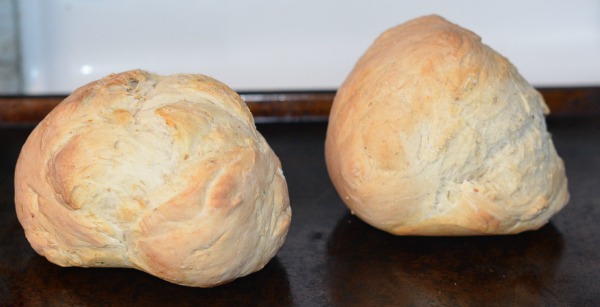
Since I am a fan of eating soup in a bread bowl, my second attempt was creating two ball shaped loaves.
Just cut off the tops and take out the inside and turn these into a bread bowl.
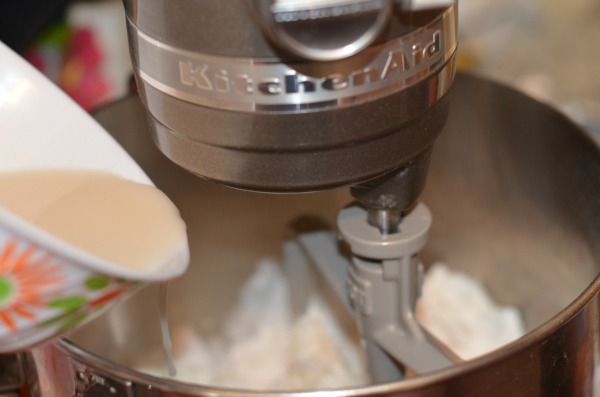
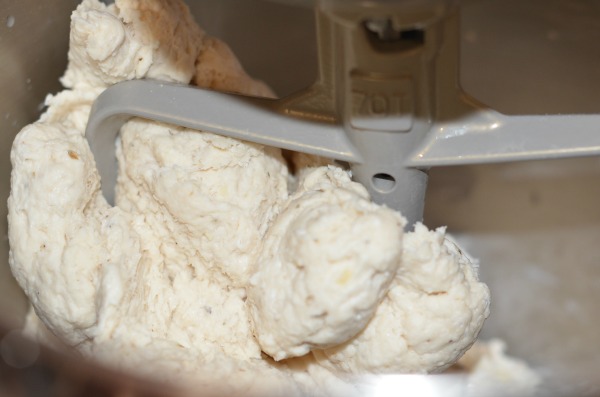
Let me not forget to mention that my 7 Quart KitchenAid Stand Mixer works AWESOME for making the dough. You can do it by hand by why would I when I have this beauty in my kitchen to help.
Ready for the recipe?
| Homemade Bread Recipe |
- 3 3/4 cups of bread (or all-purpose) flour
- 1 1/2 cups of lukewarm water
- 1 packet of dry yeast
- 2 tablespoons of olive oil
- 1 teaspoon of salt
- 1 TBS Oregano (for flavor)
- In bowl add yeast and warm water and stir to dissolve. Let mixture set about 5 minutes to allow yeast to start working.
- In mixing bowl, add 1 1/2 cups of flour, salt, oil, oregano and yeast mixture. With pastry hook knead dough until dough is well blended and not sticky. Add small amounts of flour to reach desired texture. Shape dough into ball, place in bowl slightly coated in vegetable oil and cover with plastic wrap.
- Let sit at least 1 hour to allow to rise.
- When dough is ready, sprinkle a surface with the remaining 1/4 cup of flour and add dough. Use hands to create your loaves in your desired shape.
- Place on cookie sheet and bake at 425 degrees for 25-30 minutes or until golden.
- Remove, cool and enjoy!
So my question to you is, do you make your own bread?

