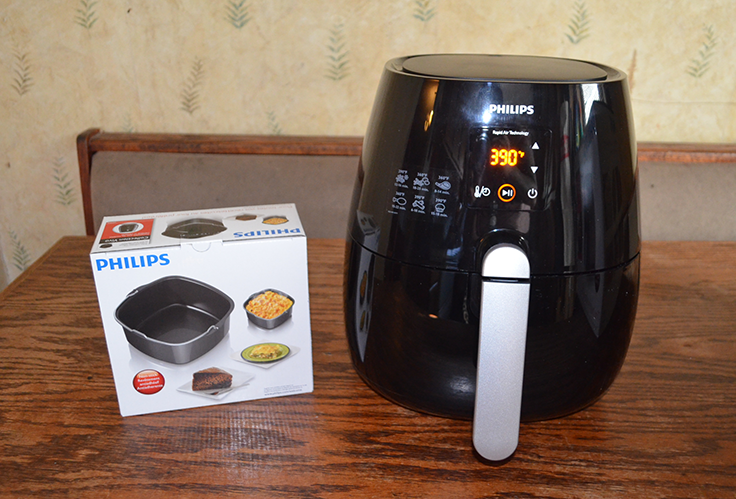
When it comes to new products, I really enjoy reviewing new kitchen gadgets and appliances. Last month I had the opportunity to test out the new Philips Airfryer while participating in an online event with Luca Manfé, MasterChef Season 4 winner and I am in LOVE. I think I may have just found my new favorite appliance!
Teenage Mutant Ninja Turtle Cupcakes
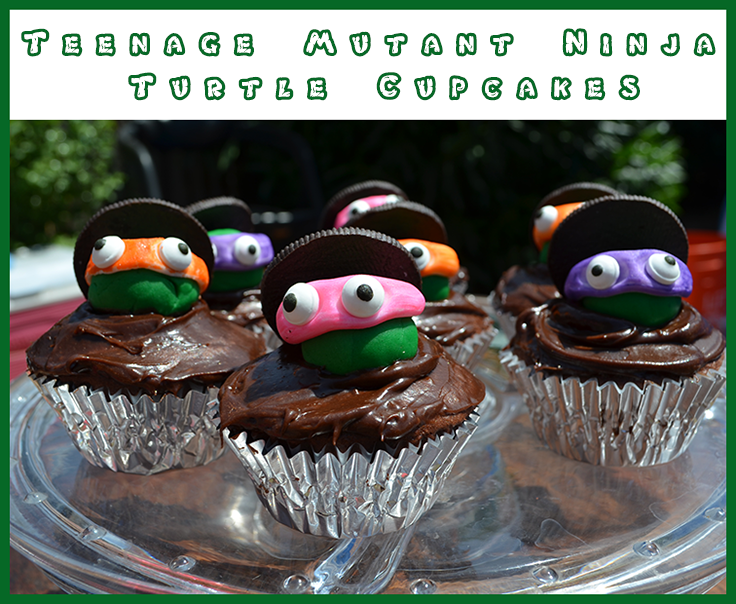
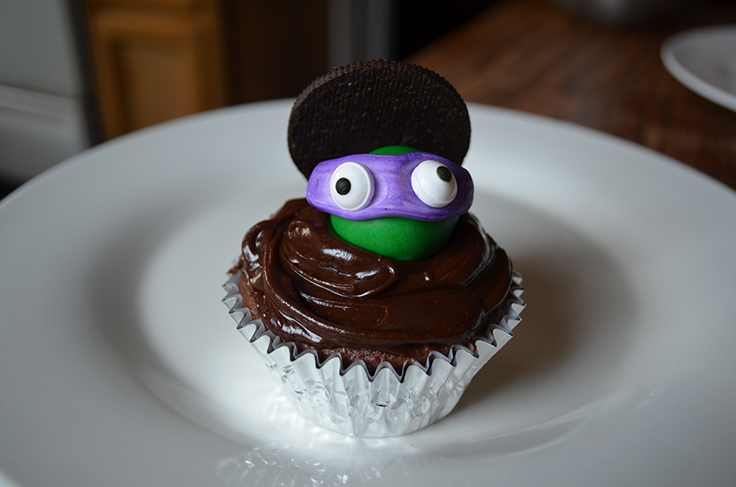
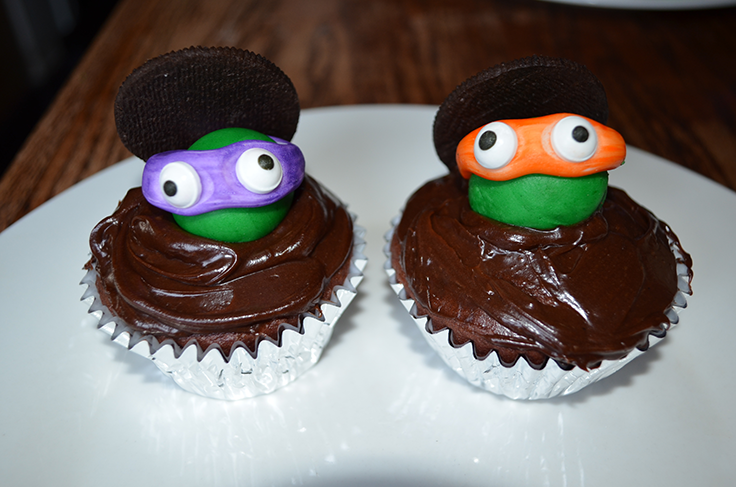
My two youngest are fans of the Teenage Mutant Ninja Turtles. I thought I would get creative in the kitchen and make some Teenage Mutant Ninja Turtle Cupcakes that I know would put a smile on their face.
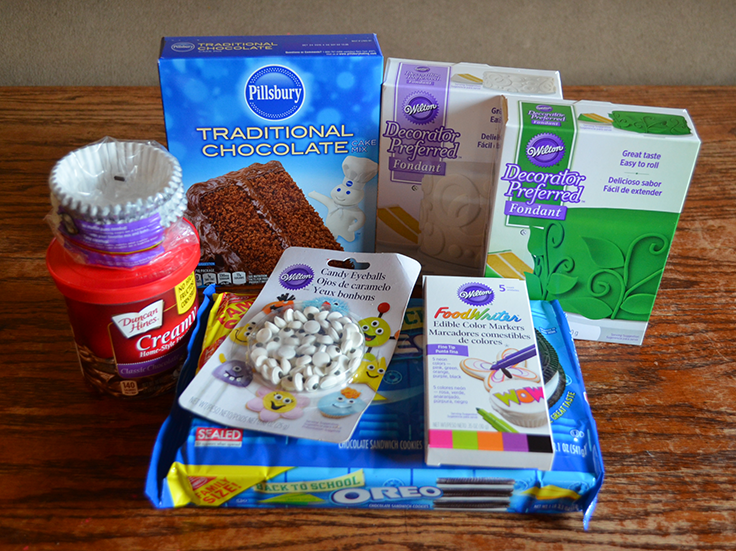
These cupcakes are CUTE and super easy to make. You just need some cake mix, frosting, baking cups, Oreos, candy eyes, fondant and these cool markers you can color on food with. You can make your own colored fondant but I bought some Wilton’s Green Fondant and White Fondant to make the process faster.
How To Make Teenage Mutant Ninja Turtle Cupcakes
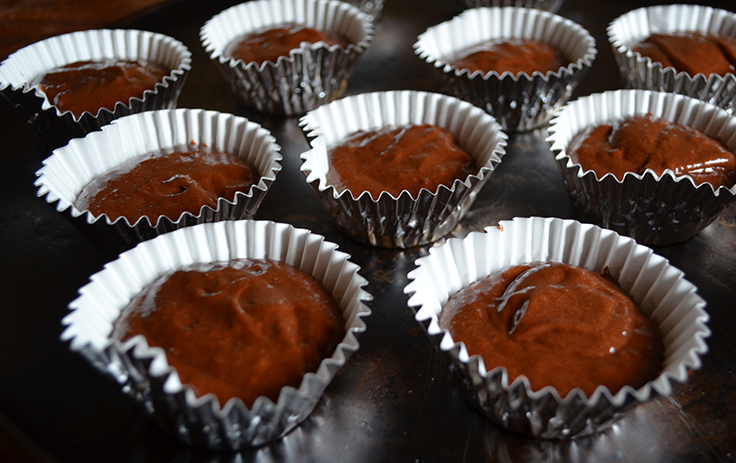
Once you got your supplies you will want to make the cupcakes according to the directions on the package. I bought the cool double lined foil liners that allow you to bake your cupcakes on a cookie sheet rather than a muffin tin.
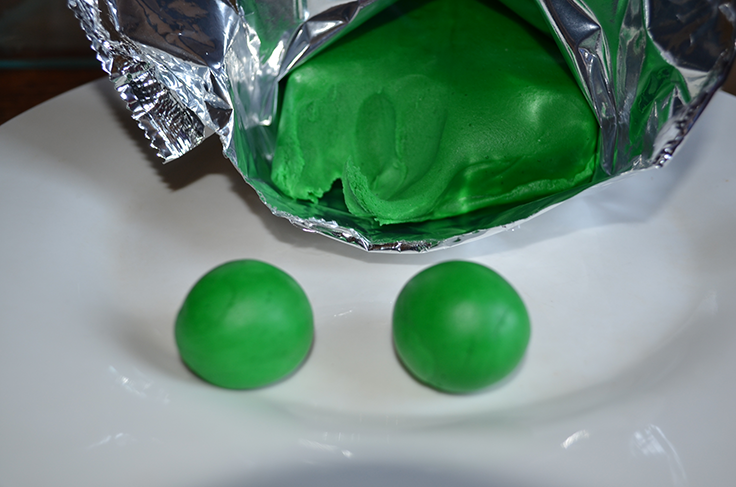
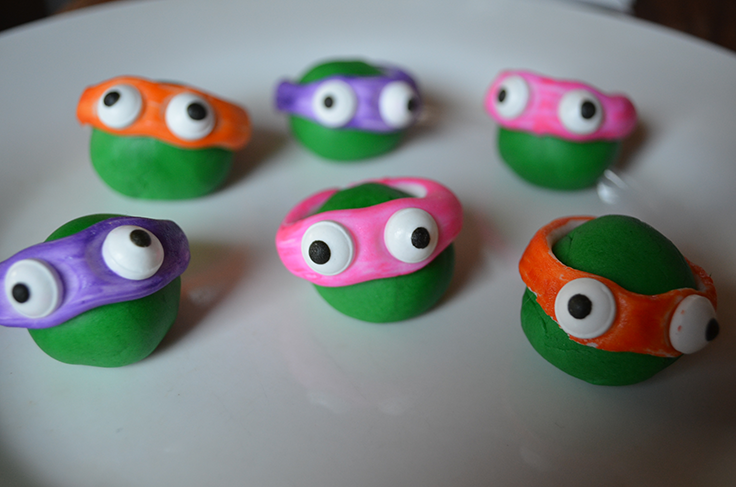
While your cupcakes are cooling off you will want to prepare the turtle heads with the green fondant.
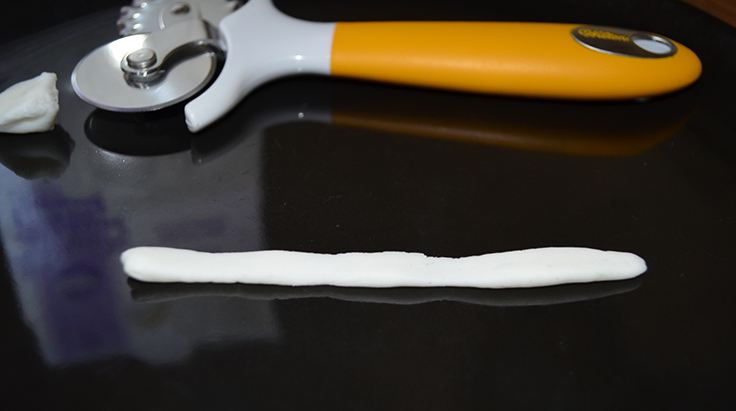
After you make the turtle heads you will want to make their bandanas. I used white fondant and made them about 3″ to 4″ long.
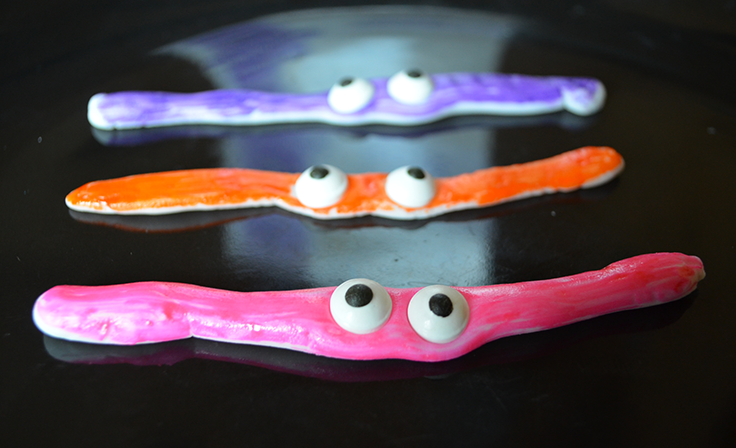
Next add some color to the bandanas and add the eyes.
Once you have colored the bananas, wrap them around the turtle heads.
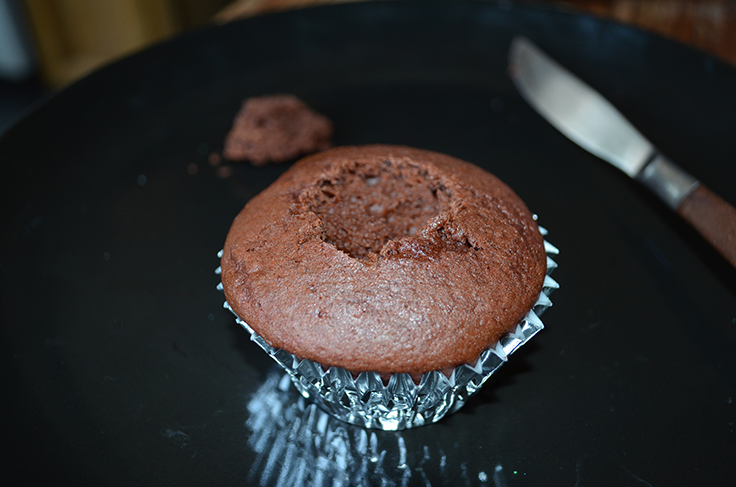
Before you place the heads on the cupcakes you will want to take a knife and cut a small amount of the cupcake off the top.
Next add the frosting and place the turtle head right in the middle where you made the cut. Then take one side of an Oreo and push it slightly into the cupcake and rest it on the turtle’s head. You now have Teenage Mutant Ninja Turtle Cupcakes!
You could get more creative with the green fondant and make turtle hands but I wanted to keep this EASY!
What would you add to your Teenage Mutant Ninja Turtle Cupcakes?
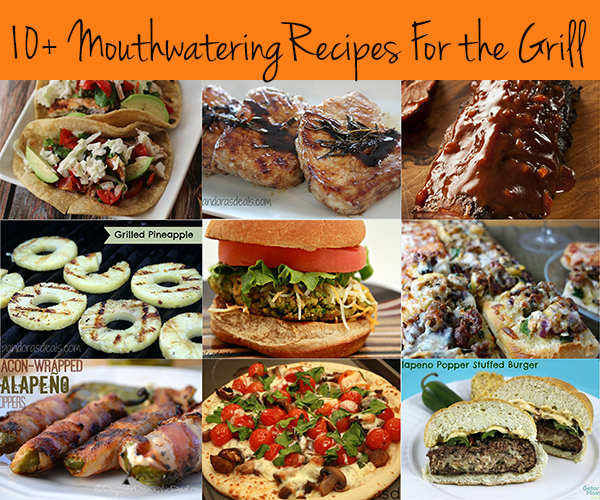
10+ Mouthwatering Recipes For The Grill
I know that many of you will be BBQ’ing for the 4th o July. I know that I will be making some good food for the family to enjoy. I want to share with you some recipes I want to try and think you might want to try too! …
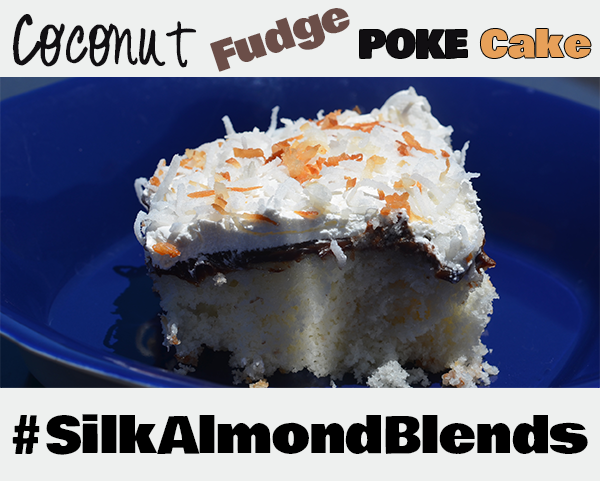
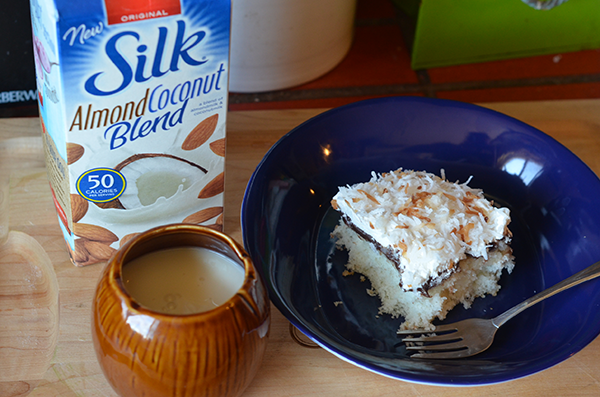
Coconut & Fudge Poke Cake With #SilkAlmondBlends
I am a member of the Collective Bias® Social Fabric® Community. This shop has been compensated as part of a social shopper amplification for Collective Bias and its advertiser. (#CollectiveBias)
One thing we like to do is BBQ and eat outdoors on the nice warm and sometimes even hot summer days. I like to cook, bake and even grill! Frozen treats like popsicles are good but they are not always filling when you are looking for something nice, cold and sweet on a summer hot day. I have been cooking with almond milk this last week coming up with some creative recipes to spoil my family with but also share with you. For those looking for a way to add some protein to your meal, there is protein in almond milk!
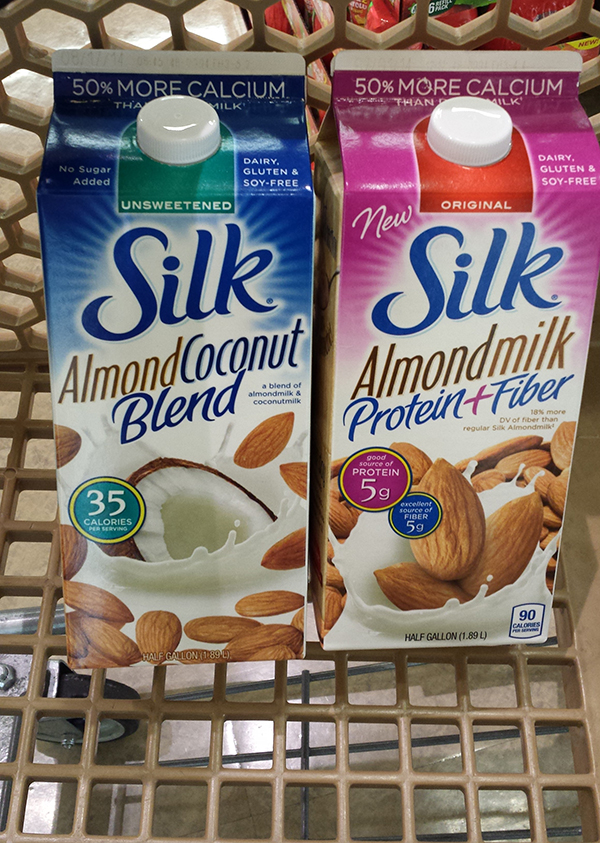
When I was at Safeway I bought the new Silk Almond Coconut Blend and the new Silk Almondmilk Protein + Fiber products. I love making sweet treats for my family that they have not tried and was anxious to try these products in substitution for using milk in some of our favorite recipes as well as create some new ones.
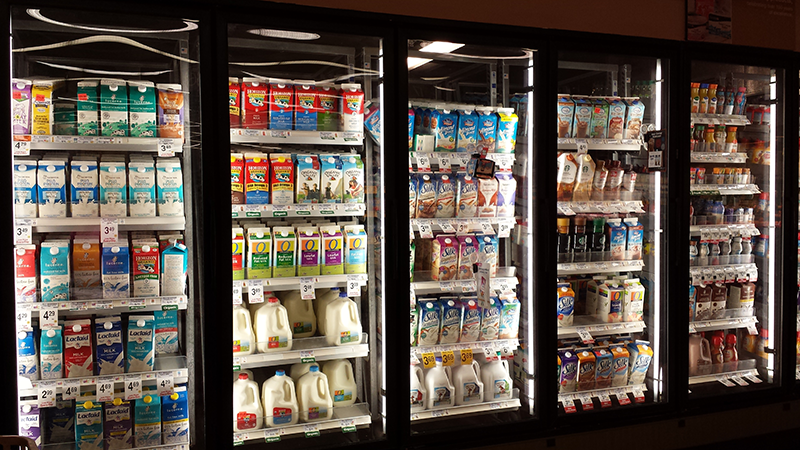
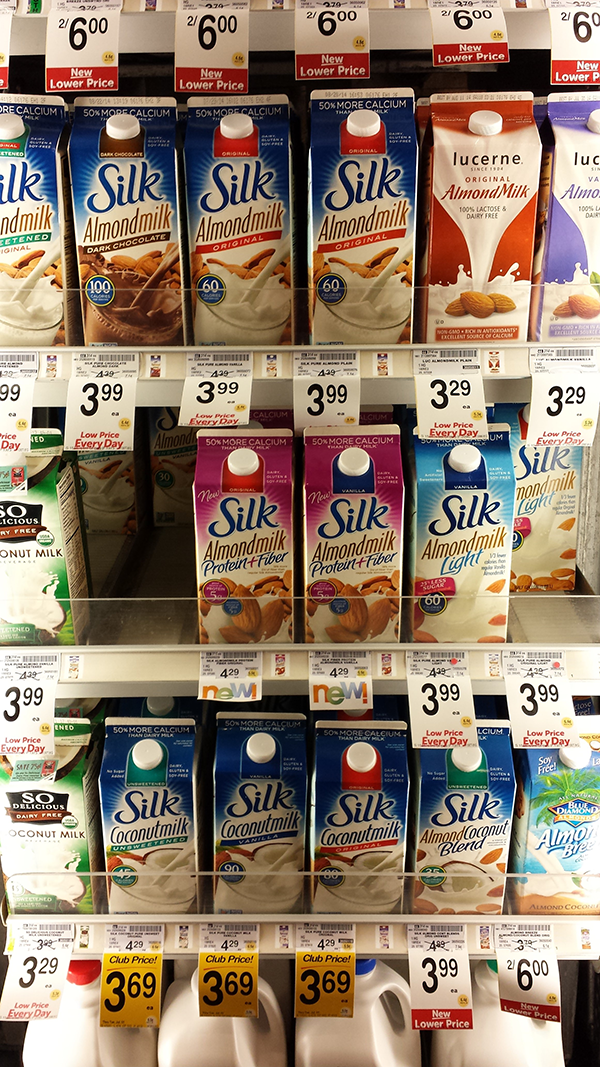
My family enjoys using milk but I also buy dairy free products since my husband’s stomach is sensitive to dairy products. I like to be able to cook with products like almond milk to make sweet treats that my whole family can enjoy. We have bought some of the Silk products in the past but I was excited to try the new Silk AlmondCoconut Blend. I like making coconut poke cakes and I knew this product would work great in cake. The new flavors as well as the other variety of Silk Almondmilk products can be found in the dairy isle right next to the regular milk products and lactose free products.
I love that Safeway offers a variety of the Silk products. I am a big fan of products that contain coconut so I am a fan of the Silk Coconut milk products as well.
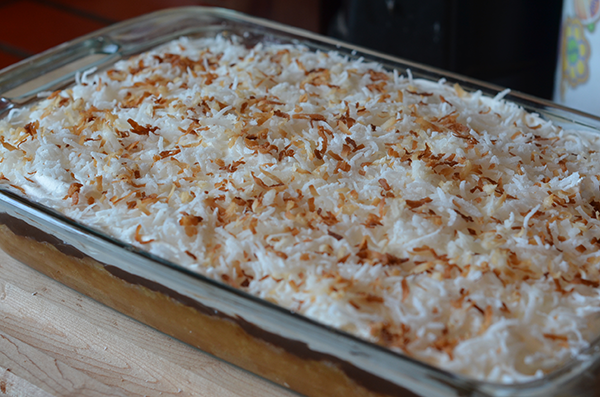
Like I mentioned before I really LOVE coconut. I love to cook with it, bake with is and even use it in my hair as a beauty treatment. One of my favorite ways to enjoy coconut though is in sweet treats like cakes! With that said I have prepared an extreme Coconut & Fudge cake that uses some of the Silk Almond Coconut Blend along with some other ingredients for some of the best cake you ever ever had.
For this cake it is best when served COLD. I don’t normally keep cakes in the refrigerator but this once you should. It is delicious when it cold and even tastes great a couple days later. You can also enjoy this cake with a cold glass of Silk AlmondCoconut Blend!
Now for the recipe. Beware, if you love coconut you are really going to enjoy this…
- 1/2 cup Silk AlmondCoconut Blend
- 2 1/2 cups shredded sweetened coconut (divided)
- 1/2 cup toasted coconut (optional)
- 1 cup Cream of Coconut
- 1 white cake mix
- 12.8oz jar hot fudge topping (room temperature)
- 5oz whipped topping (dairy free or regular)
- In a mixing bowl add white cake mix and 1 cup of shredded coconut. Stir well and bake according to instructions on box in a 13×9 baking pan.
- While cake is baking, add SilkAlmondCoconut Blend, 1/2 cup coconut and Cream of Coconut in a bowl. Mix well and set aside.
- When cake is done, remove from oven and immediately poke several times with a fork. Pour the mixture you made all over the cake allowing it to seep into the holes and allow to cool completely. I put my cake in the refrigerator for a couple hours covered to speed up the cooling process.
- Once cake has cooled, add a layer of the hot fudge topping. If it is room temperature, it should be soft enough to spread. If not microwave 15-30 seconds until spreadable.
- Add a layer of the whipped topping.
- Sprinkle 1 cup of shredded coconut on top of whipped topping.
- Optional – Sprinkle 1/2 cup of toasted coconut on top. Coconut can be toasted by placing a sheet of parchment paper on cookie sheet and bake for 3-5 minutes at 350°.
- Store in refrigerator to keep it nice and cold.
For more information on the Silk products visit: https://www.facebook.com/SilkUS.
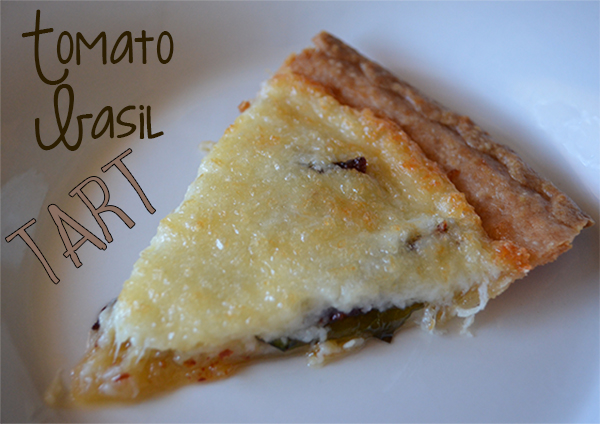
Tomato Basil Tart Recipe
Last weekend I was at a blogger breakfast and tried a couple dished that were prepared by Jean and Kip from Global Spoon. They brought a cauliflower quiche and a roasted bell pepper tarte for the bloggers to try. When I got home and thought about the two recipes I had tried, the tart inspired me to make my own version…
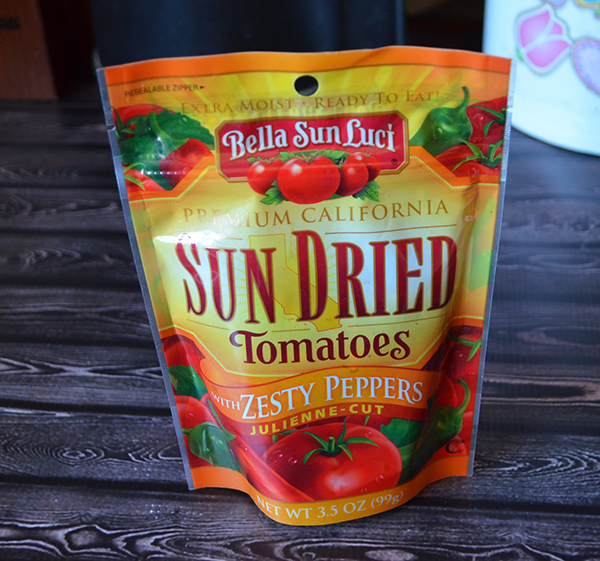
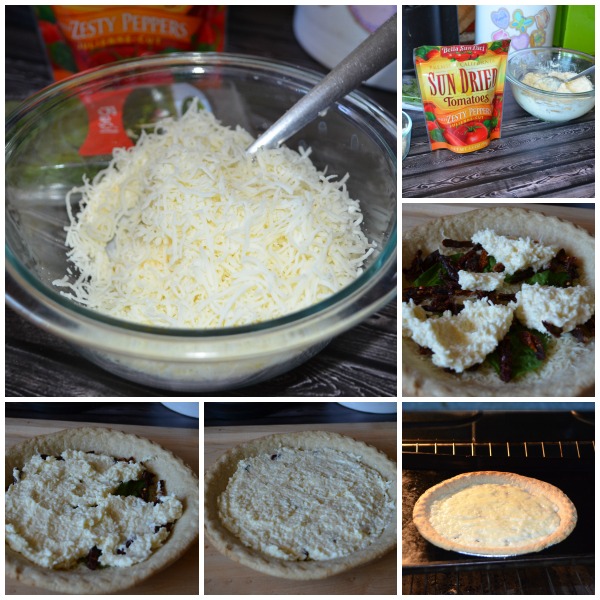
Since I had some Bella Sun Luci Sun Dried Tomatoes to try, I thought they would be perfect to go into a Tomato Basil Tart.
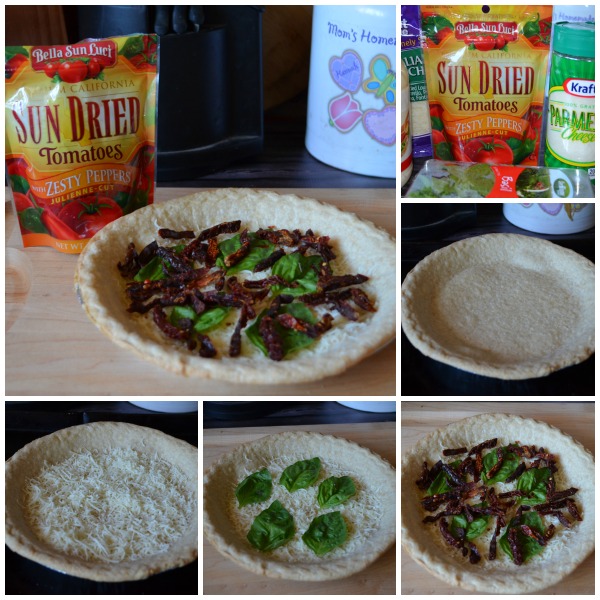
Now making a Tomato Basil Tart is really especially, especially with the tomatoes already ready to use. First you will cook the pie crust according to directions on package. Next when it comes out of the oven, sprinkle 1/2 cup of Mozzarella cheese and allow to slightly melt. Add a layer of fresh basil leaves then top with a layer of the Bella Sun Luci Sun Dried Tomatoes. I chose to go with the Zesty Peppers flavor which isn’t to hot once they are cooked.
You will then want to have a mixture made up of 1/2 cup mayo, 1 cup Mozzarella cheese, 1/8 cup grated Parmesan cheese and 1/2 TBS minced garlic. Once you have that mixed up well you will want to spread the mixture on top.
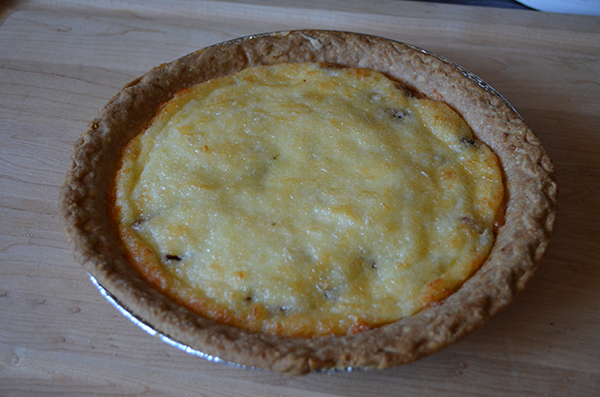
Put in oven and bake at 375° for 20-22 minutes or until browned.
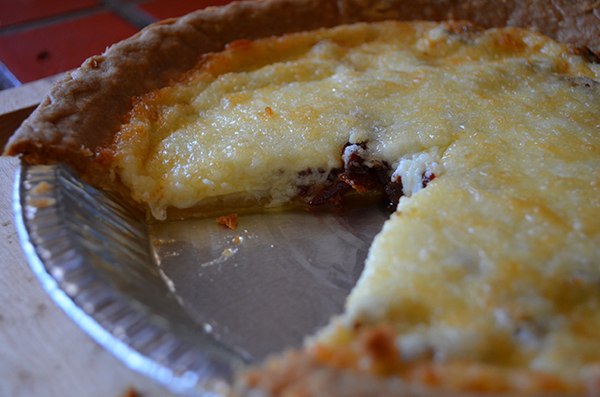
Allow to cool, slice and enjoy! This is a recipe that I enjoyed and plan on making again, maybe with an addition of roasted bell peppers too!
Want a printer friendly version of this recipe? See below:
- Bella Sun Luci Sun Dried Tomatoes
- Pie crust (store bought)
- 1 1/2 cup Mozzarella cheese
- 1/2 cup mayo
- 1/8 cup graded Parmesan cheese
- 1/2 tbs minced garlic
- Fresh basil leaves
- Bake the pie crust according to directions on package.
- Once out oven sprinkle 1/2 cup of Mozzarella cheese and allow to slightly melt. Allow to cool.
- Add layer of fresh basil leaves.
- Add layer of Bella Sun Luci Sun Dried Tomatoes
- In a bowl add mayo, Parmesan cheese, garlic and remaining Mozzarella cheese. Mix well and spread on top.
- Bake at 375° for 20-22 minutes or until browned.